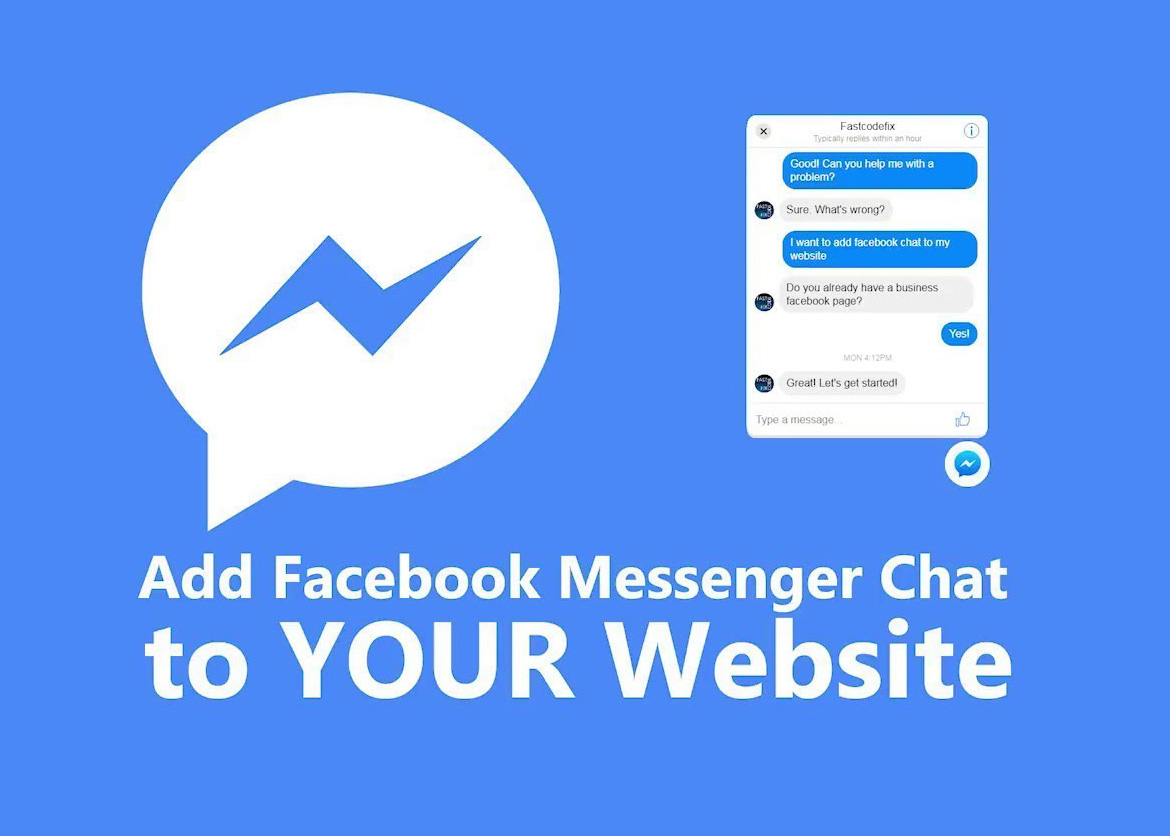
Want a better way to connect with prospects and customers? Did you know that Facebook Messenger makes it easy to embed a live customer chat widget on your site? The Messenger Customer Chat plugin allows you to have a live conversation with site visitors. In this article, you’ll learn how to add a Facebook Messenger customer chat widget to your site.
How does Live Chat work?
Live chat allows you to instantly communicate with your website visitors via instant messaging. The chat simply appears within their browser window, and the website visitor can chat with an operator by typing into the live chat box.
Solution
Use your Facebook page as a lightweight CRM, and integrate Facebook Messenger as a live chat solution!
How to set it up
Prerequisites
- Most obviously, you need to create a Facebook Page for your website or business. Click Here to view instructions on Facebook.com.
- You’ll need you Facebook Page ID. Follow the instructions below to retrieve that.
- You’ll need to whitelist your domain name on your facebook page. We’ll show you how in the guide below.
- You’ll need to embed a snippet of code on the pages where you wish to display your widget.
- You should consider setting up notifications on your mobile & in email for when customers message you, as well as downloading the Messenger App for your phone.
Detailed documentation & setup instructions on Facebook
1. Retrieve your Facebook Page ID
First, you’ll need to retrieve your Facebook page ID. You can do this by navigating to your page, clicking on the About tab, and scrolling to the bottom of the page. There, you will see your page ID (It should be a number).
2. Whitelist your Domain
Next, you’ll need to navigate to the setting and clink “Messaging” and this page you will find "Add Messenger to your website" Click "Get Started". After setting up everything click in the PUBLISH button in the end of the page. After publish refresh this page again and click "Set Up" button in the top. Complete all the Step and from step 3 copy the code. Now again form your page setting click "Advance Messaging" and update with your domain from Whitelisted Domains section. Type in both the HTTP:// and HTTPS:// variants of your domain to ensure it works for 100% of users. Click the SAVE button.
3. Embed a snippet of code in your website
Now, our final step, is to embed a small snippet of code on our website. You should place it just before the closing </body> tag of your webpage.
<!-- Messenger Chat Plugin Code -->

    <div id="fb-root"></div>

      <script>

        window.fbAsyncInit = function() {

          FB.init({

            xfbml            : true,

            version          : 'v10.0'

          });

        };
        (function(d, s, id) {

          var js, fjs = d.getElementsByTagName(s)[0];

          if (d.getElementById(id)) return;

          js = d.createElement(s); js.id = id;

          js.src = 'https://connect.facebook.net/en_US/sdk/xfbml.customerchat.js';

          fjs.parentNode.insertBefore(js, fjs);

        }(document, 'script', 'facebook-jssdk'));

      </script>
      <!-- Your Chat Plugin code -->

      <div class="fb-customerchat"

        attribution="biz_inbox"

        page_id="134193846765441">

      </div>
Note, you’re going to have to replace your facebook page id with your own. This code is generated for TechnoCard website. That's it.